Guide
How to convert your schedule
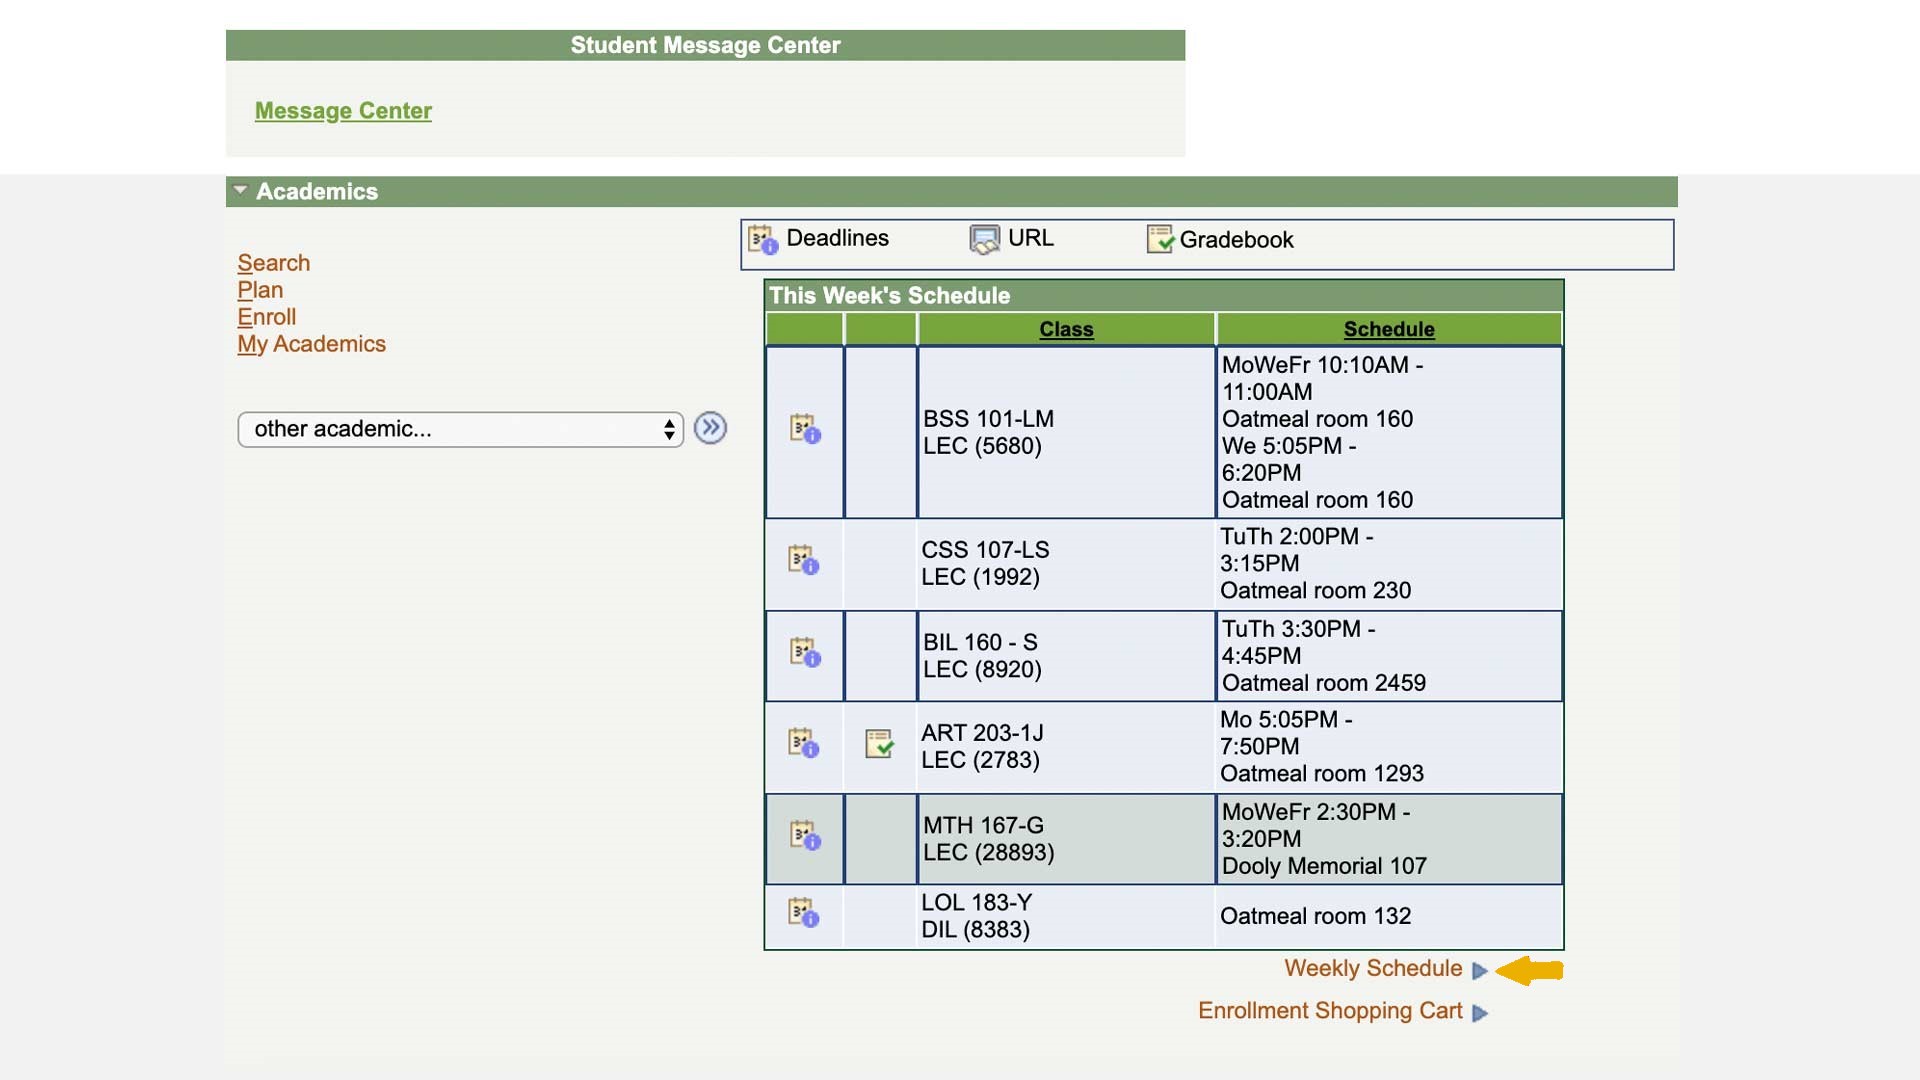
STEP 1
Open your student self service and select "Weekly Schedule".
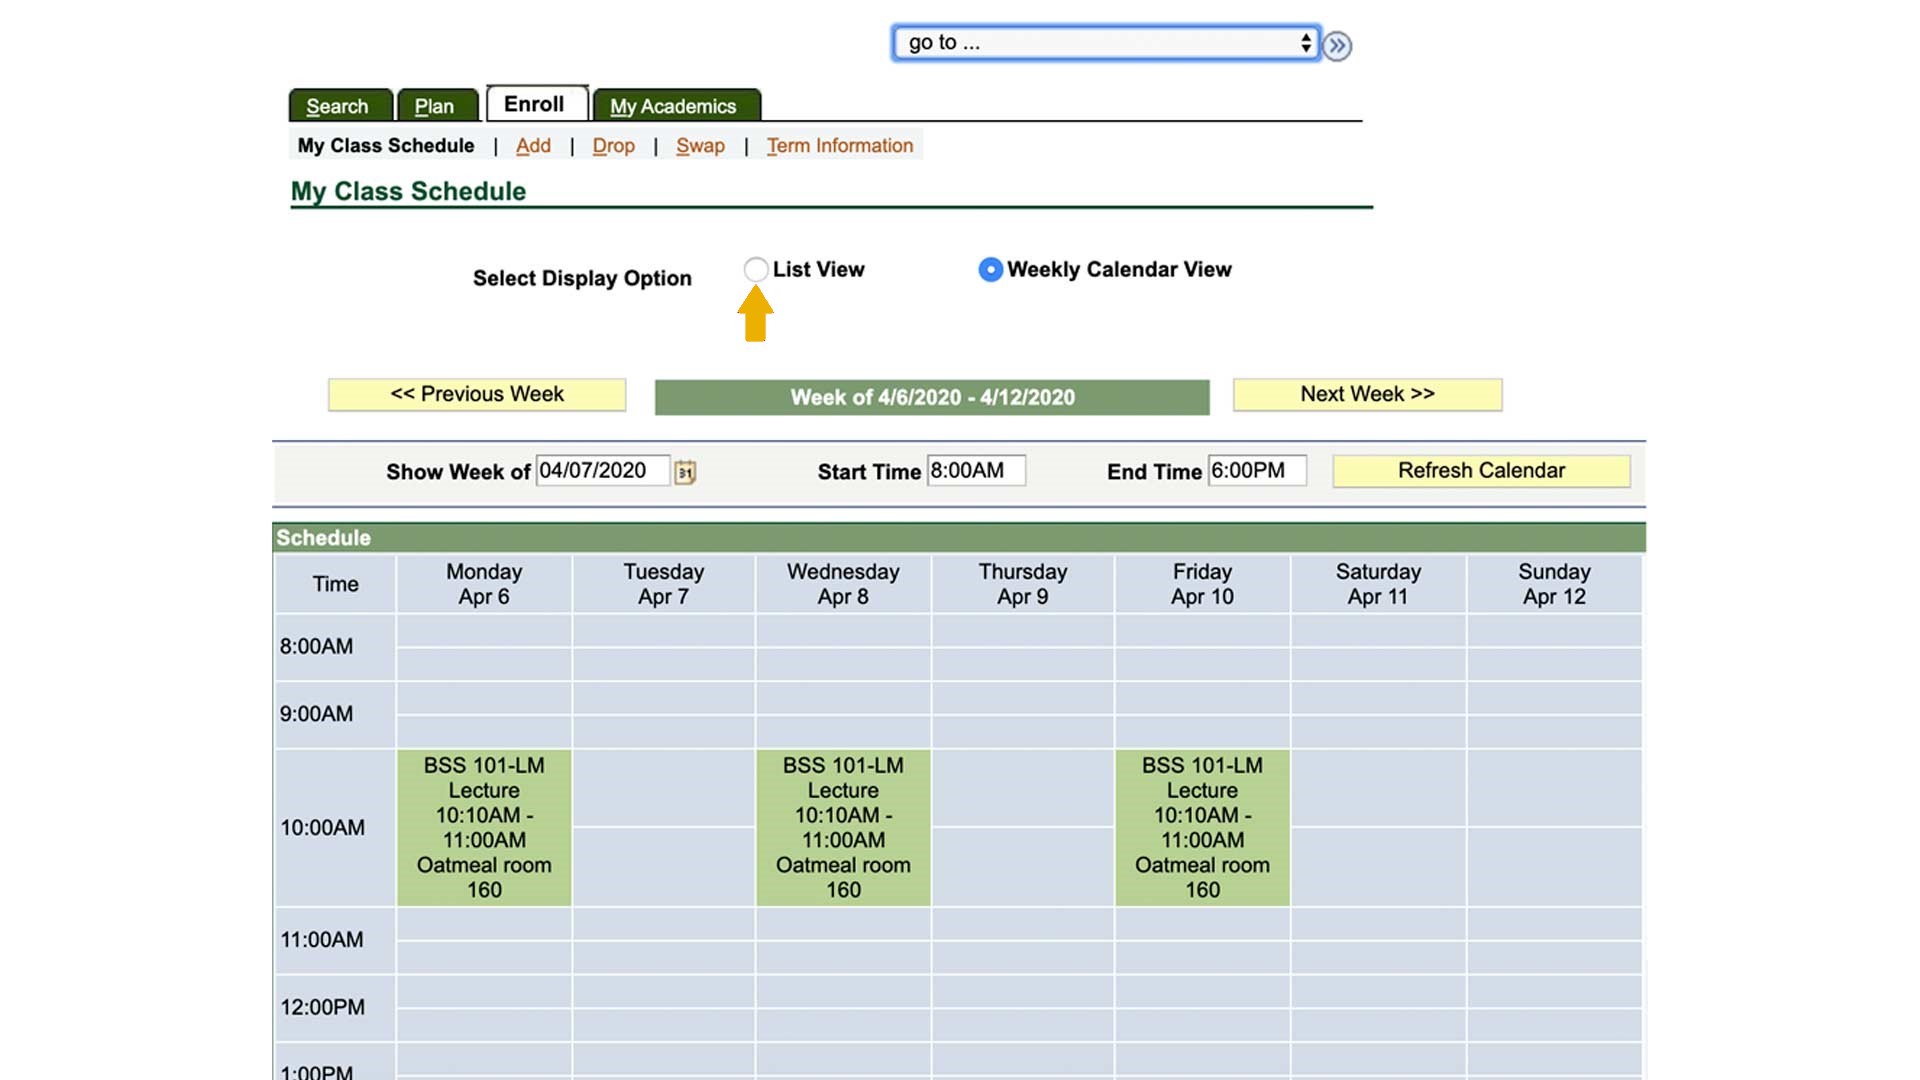
STEP 2
Click "List View"
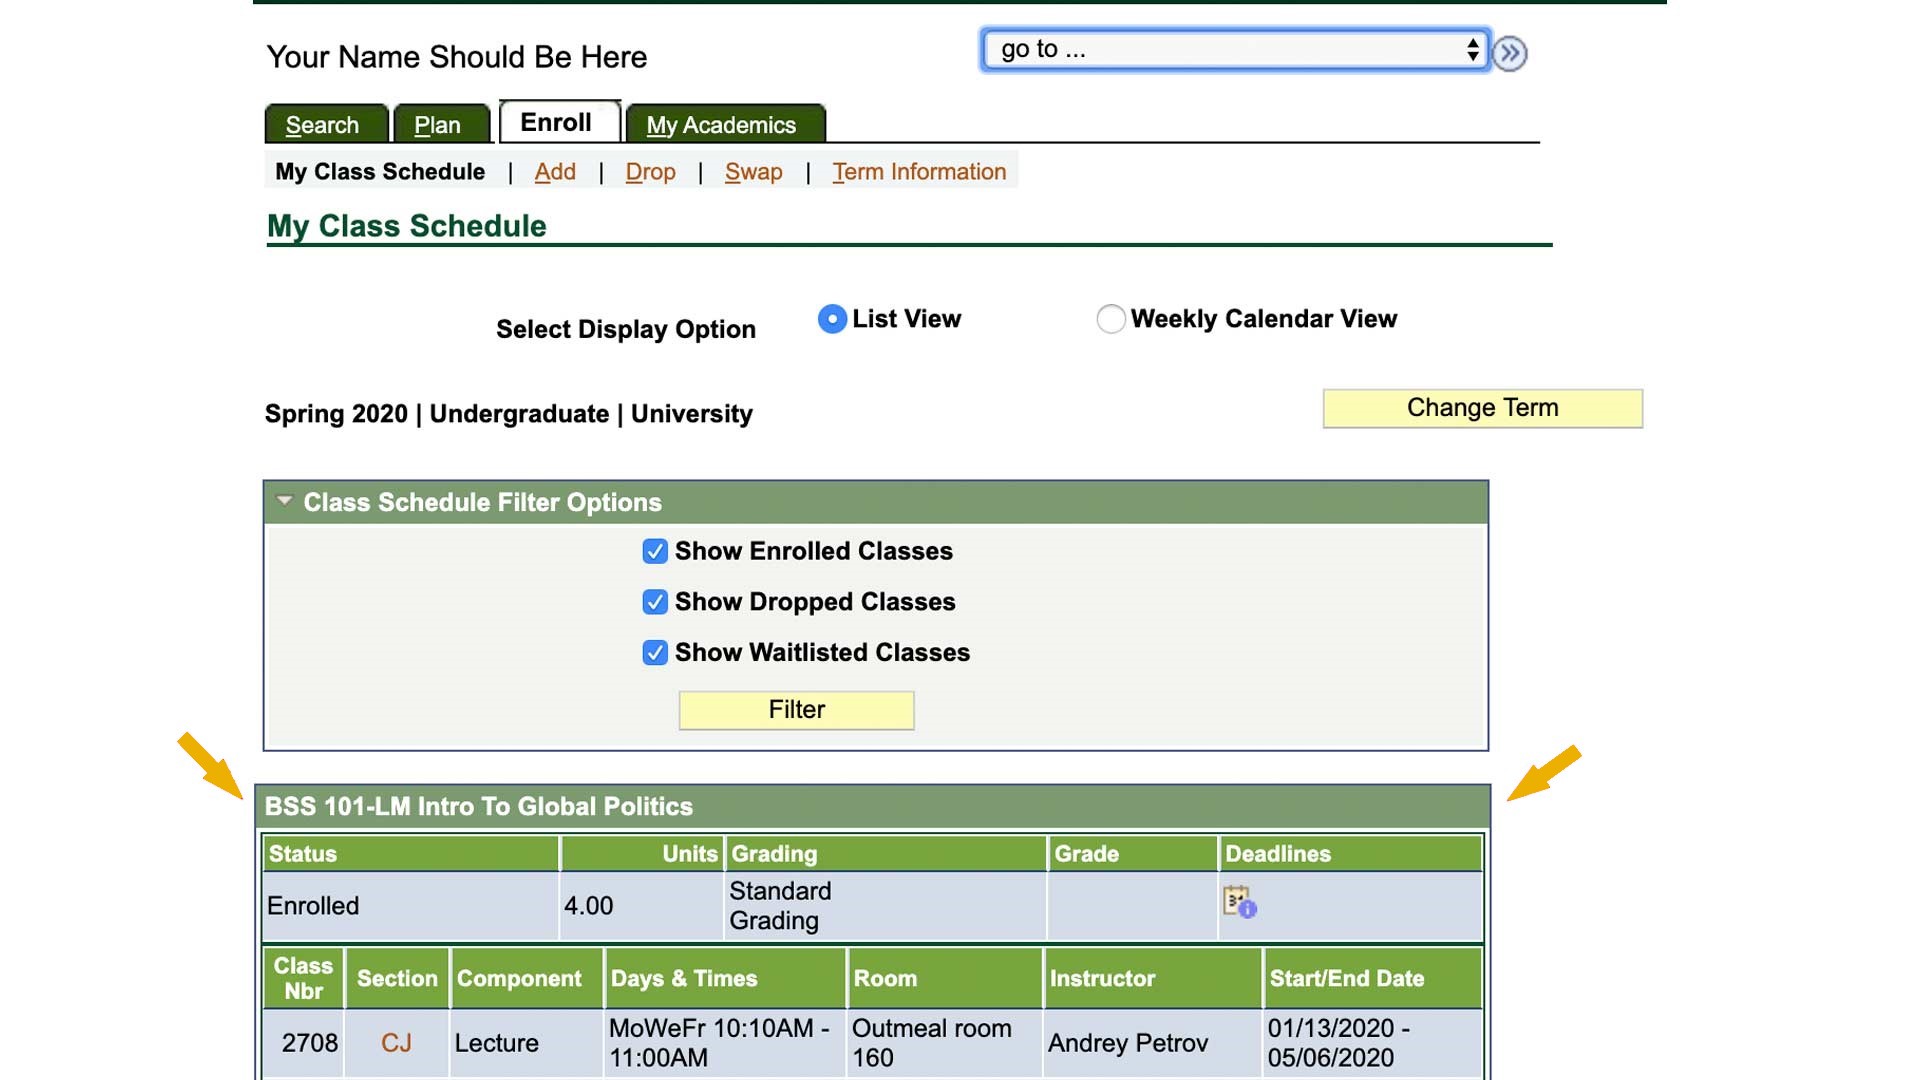
STEP 3
Copy the entire table and paste it into the box in Unischeduler. After you submit your schedule, the calendar will be downloaded on your device.
You can add your schedule to the calendar of your choice such as Google, Outlook, or Apple Calendar.
How to add the schedule to Google Calendar
STEP 1
Log in to your Google Calendar
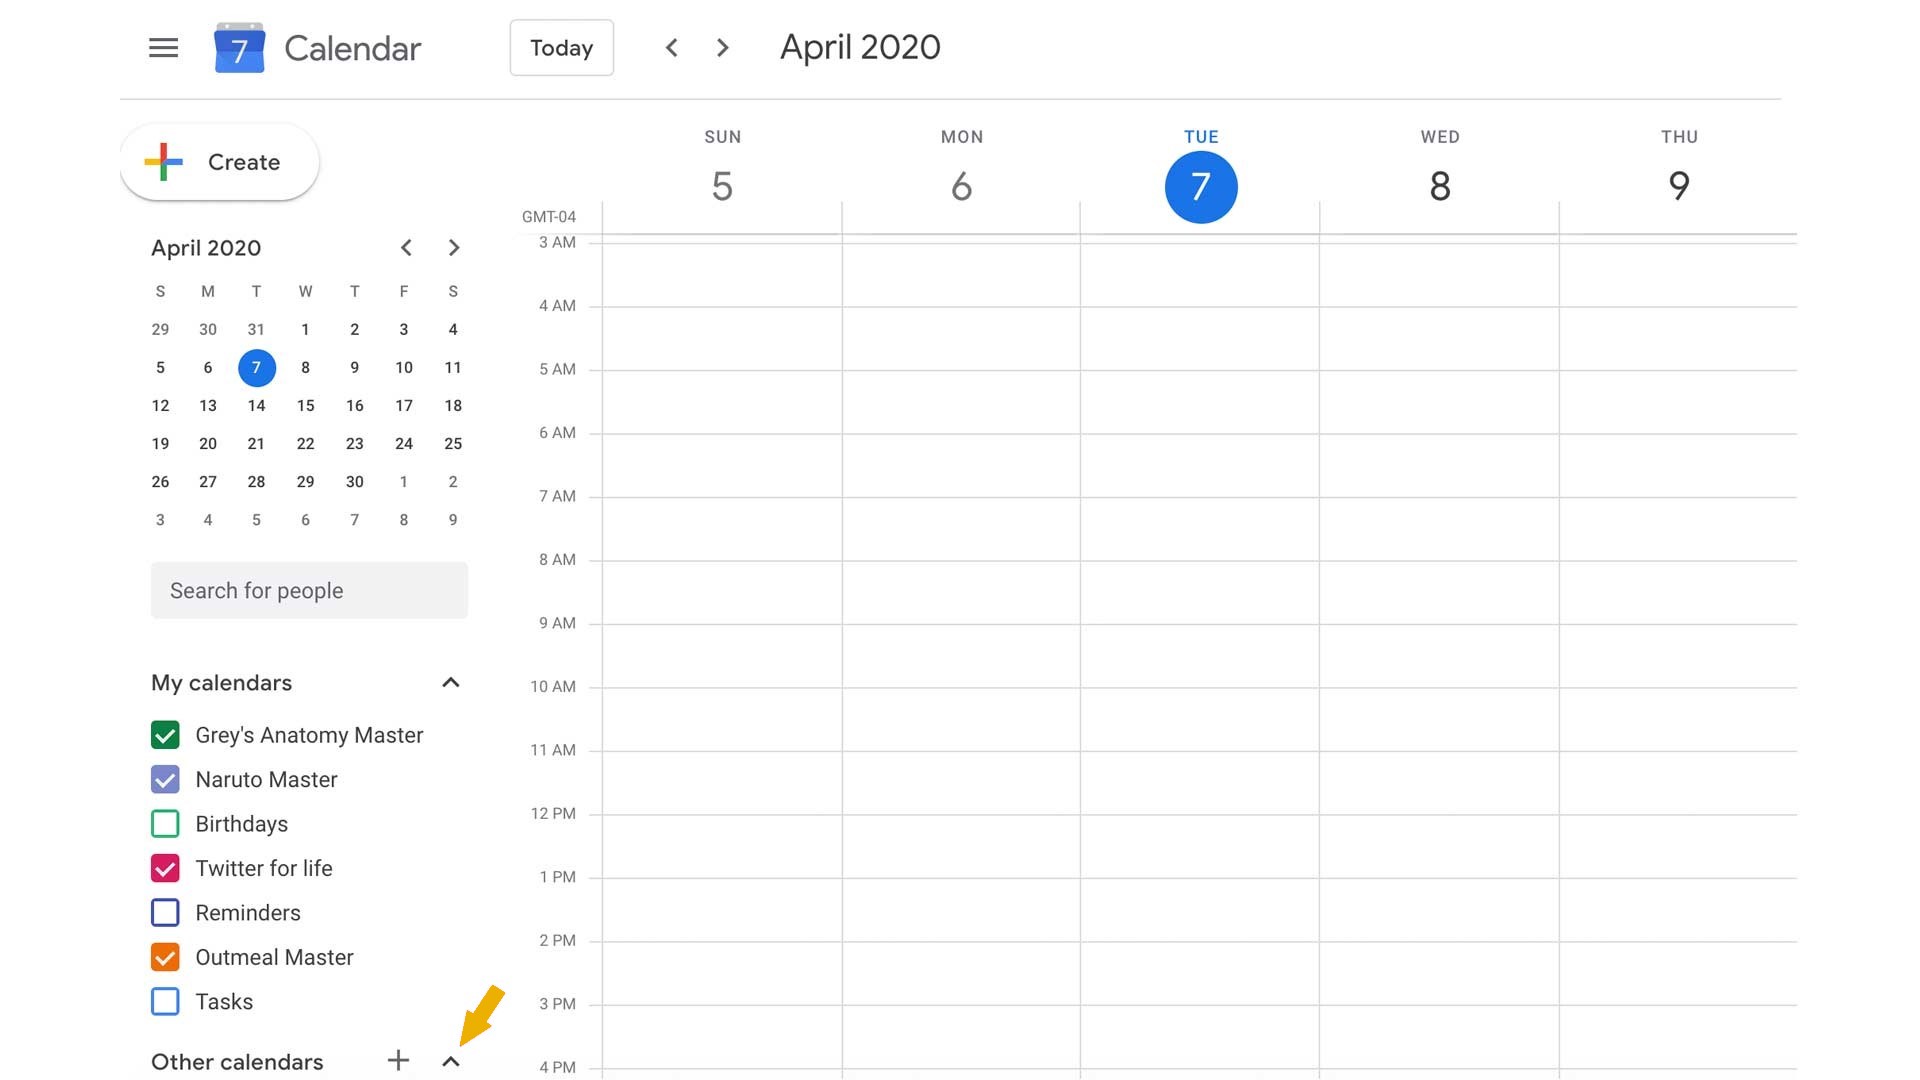
STEP 2
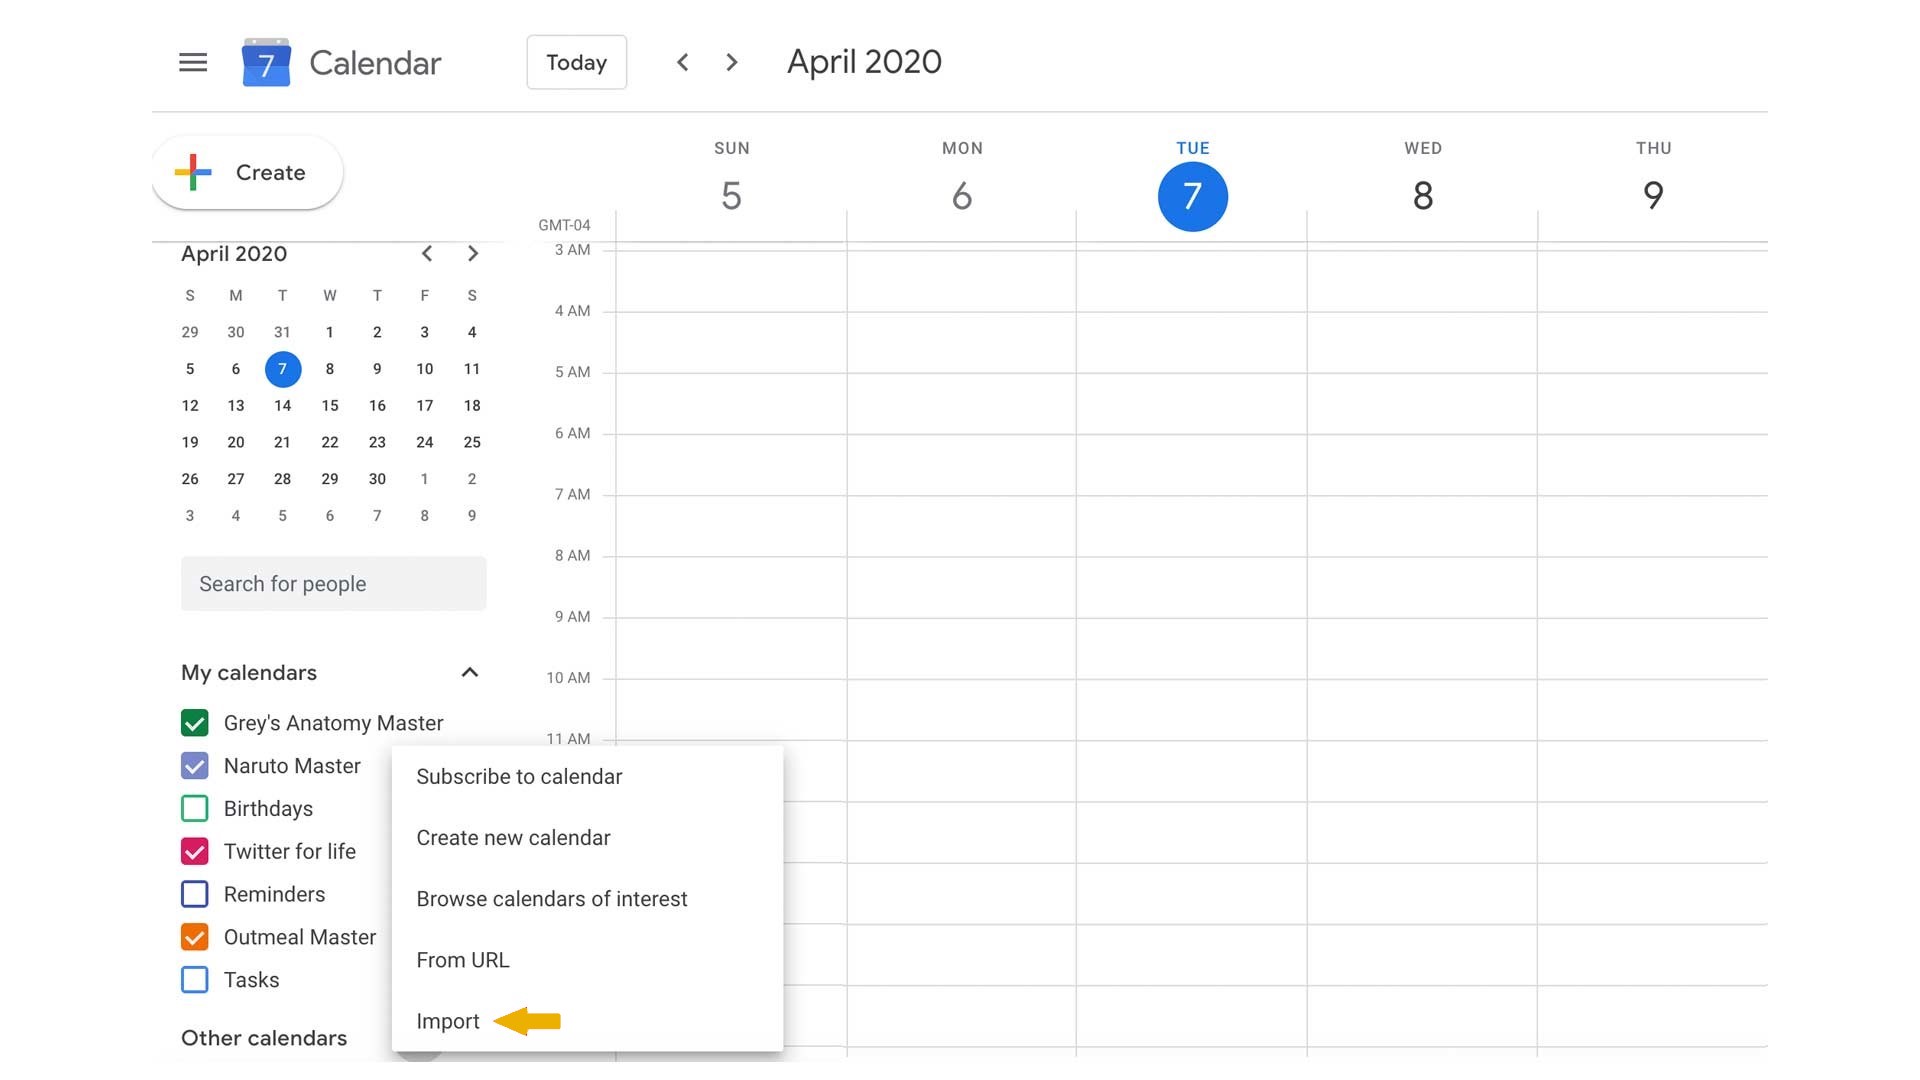
Click on the "+" in the bottom left corner of your screen next to "Other Calendars" and select "Import" option.
STEP 3
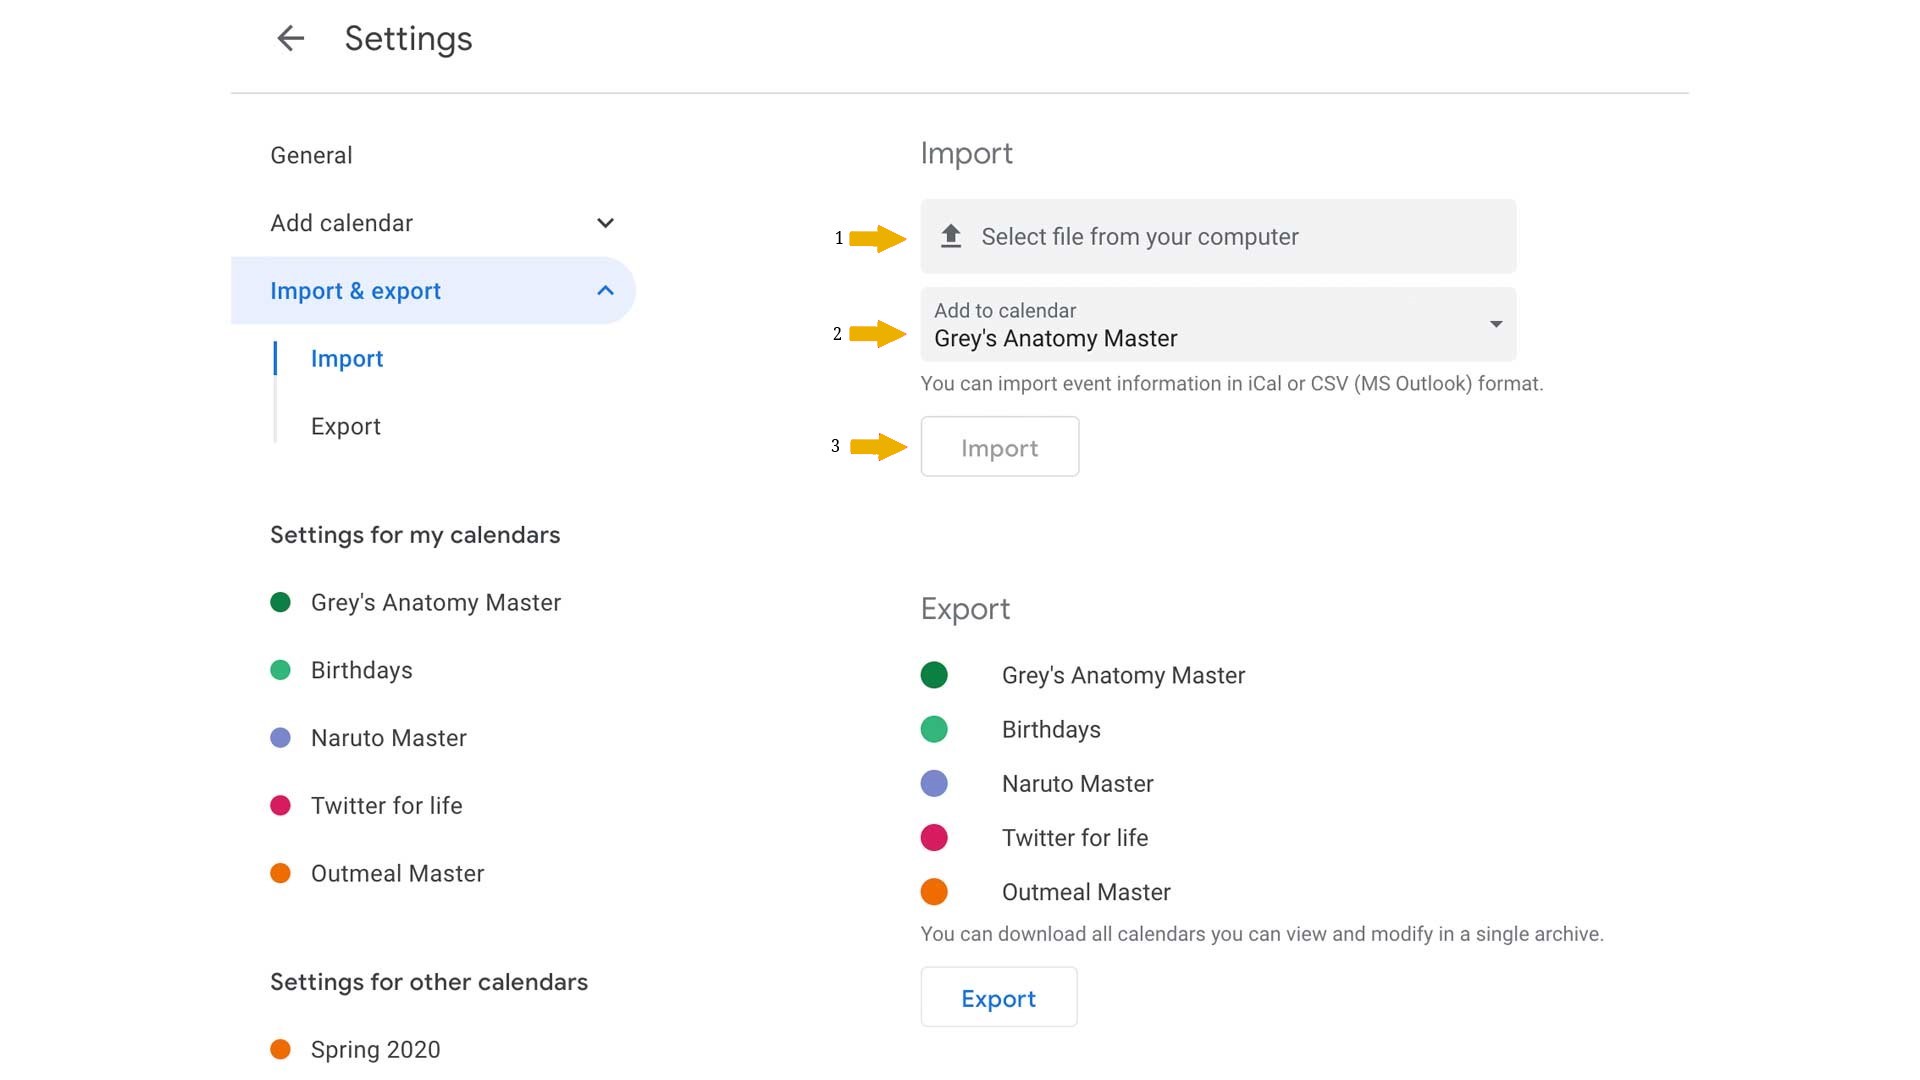
Click on the "Select file from your computer" box and choose the downloaded "Classes.ics" file. Choose the calendar you want your schedule to be in and click "Import".
Congratulations!
Now enjoy your shedule in your Google Calendar.